How to "Big Stitch" Quilt Like Lorraine Hofmann Slide Show
BATTING - The first consideration is to choose a batting. Lorraine has used Hobbs Heirloom Cotton in 99% of the quilts she has ever ever made. It is 80/20 cotton/polyester. For my project I am trying out this Kyota Bamboo Blend. It seems to be working fine. It does make a heavy quilt but I have not had any trouble quilting pulling my needle through it. Sandwich your quilt as usual with your batting.
SUPPLIES
1. #10 Crochet Cotton.
2. #5 Crewel Embroidery Needle or #24 Chenille Needle.
Figure out what works best for you. You are looking for a needle with a hole big enough to fit the crochet cotton
through and a needle long enough to span the space between the arcs - about 1 1/2 inches (this will make sense later).
3. Clover Chaco Liner for marking your quilt top as you go.
I recommend white chalk. I have never had good luck getting the other colors to go away.
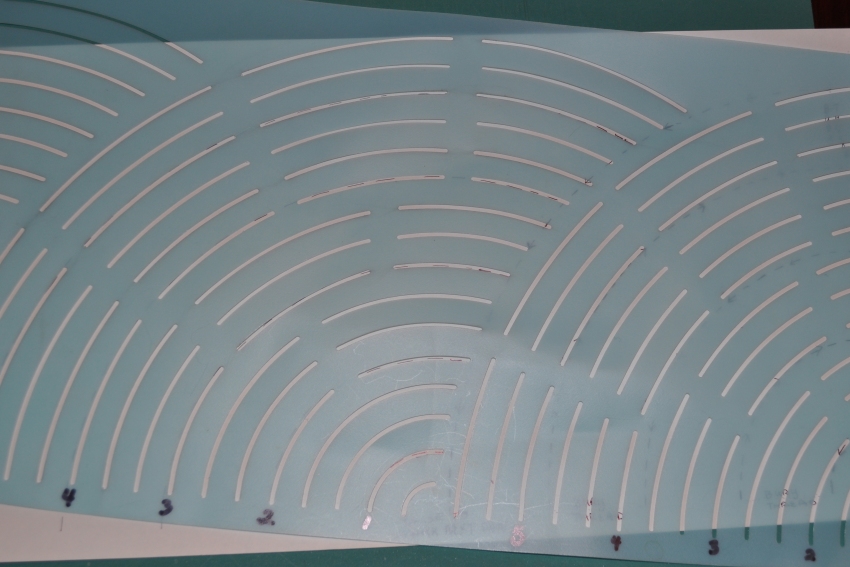
4. You will need a 7" bishop's fan temple. The Stencil Company carries one.
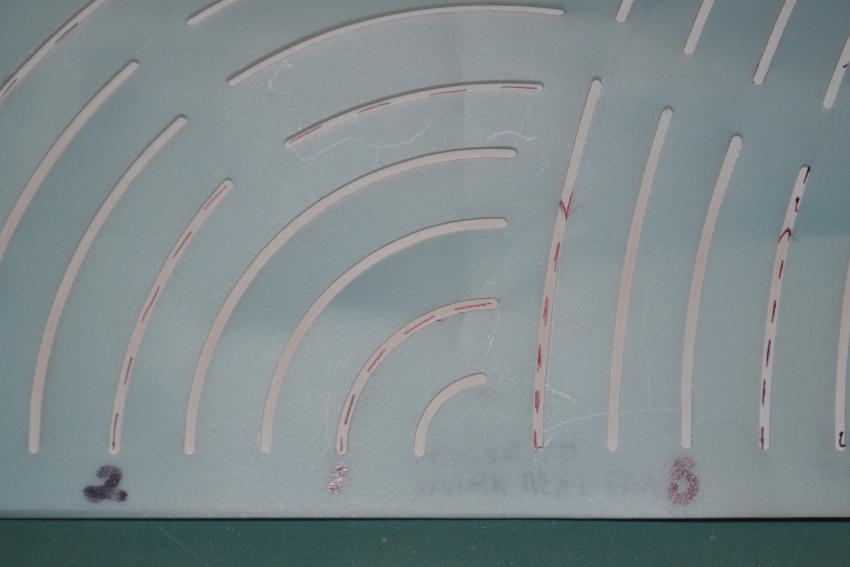
I already had this 8" fan so we adapted it for this pattern.
5. Sharpie pen to mark you fan template. ONLY USE THE SHARPIE ON THE TEMPLATE.
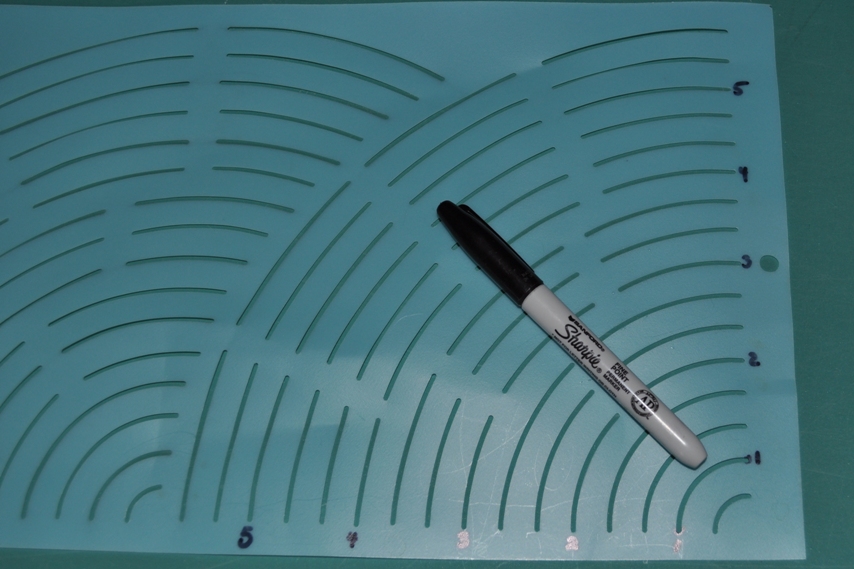
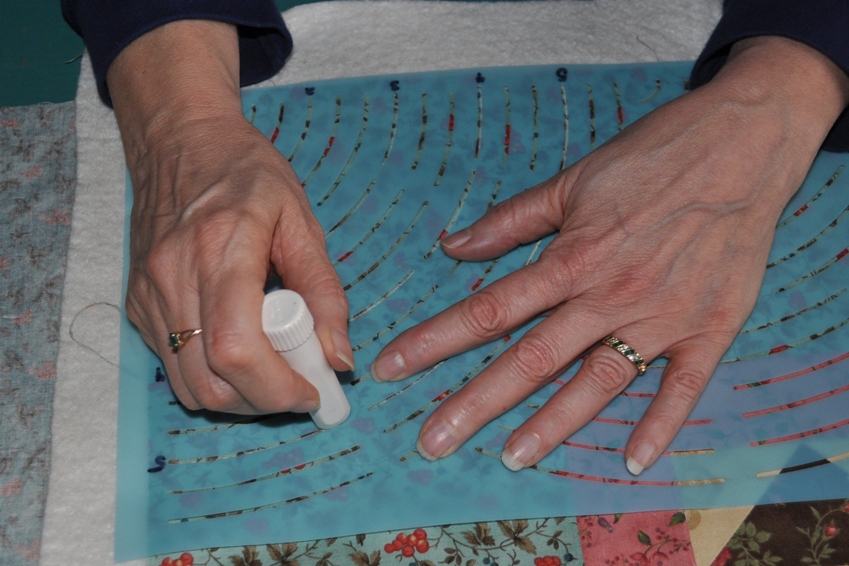
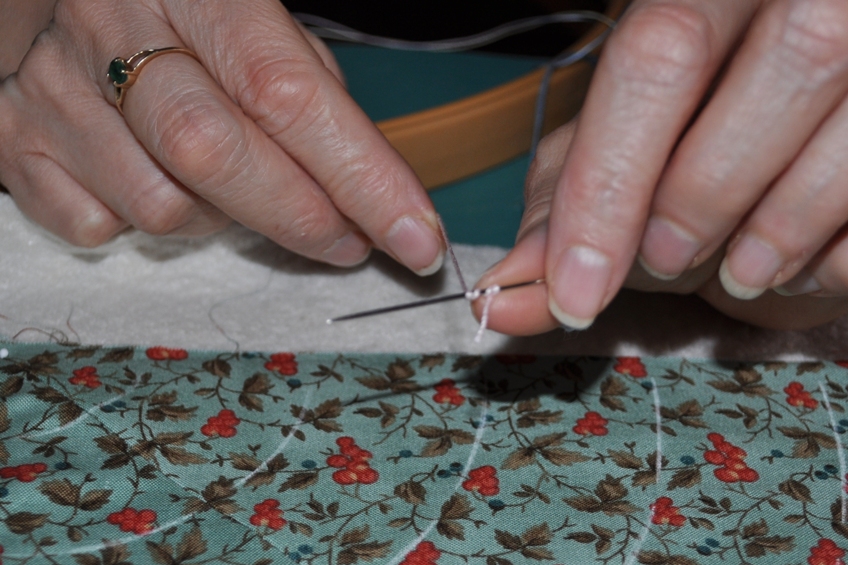
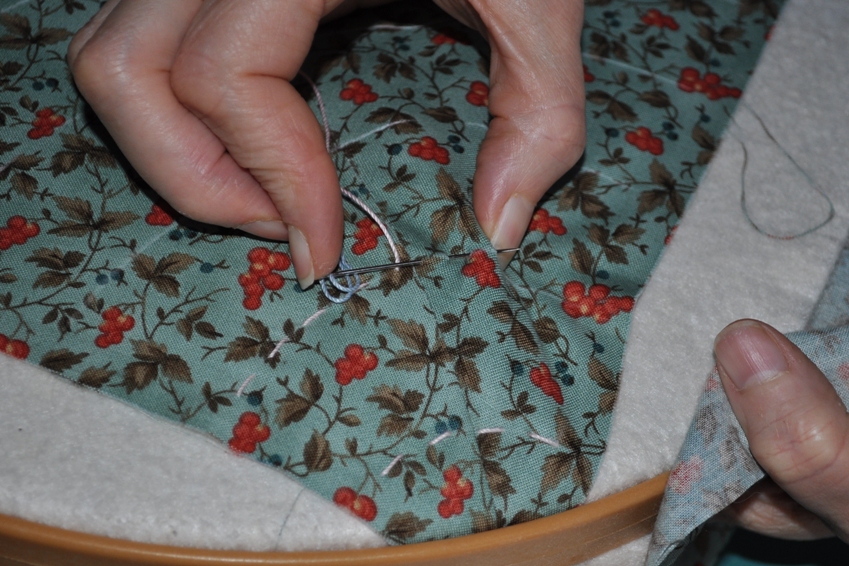
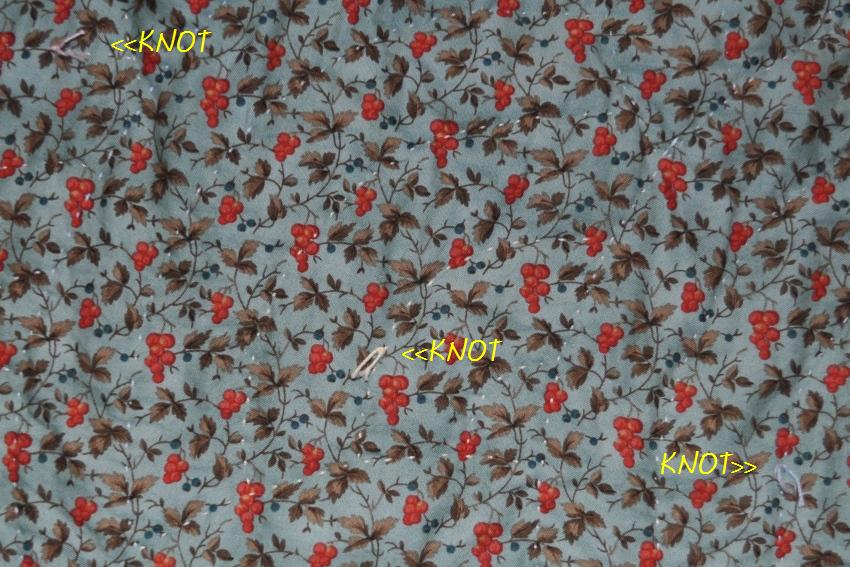
6. 14" quilting hoop. This will allow you to do one whole fan before you have to move it and mark the next fan. Mark your 8" template as the one above. On the second smallest arc mark "1" on both ends of the arc. Skip over from there 3 arcs and mark it as "2". Continue to the number "5". Then you will need to do the same to the second fan on this template. On the 7" fan you will mark the first arc and go out to the last arc. "5" is the last arc on the 7" fan. Now is the time to take a Diet Coke break. (It doesn't hurt to seek out a bit of product underwriting.) Place the template at the lower right hand corner of you quilt. Place the ends of the fan arcs at 1/4" from the edge of the quilt top. Using your Chaco Liner, mark the fabrics on the arcs marked 1, 2, 3, 4 and 5. Always mark one complete fan at a time. All that will fit in your 14" hoop. See how much thread Lorraine has pulled off the skein? Use that much each time you thread the needle. After threading your needle, wrap the crochet cotton around the needle about 4 times and pull the knot along the thread leaving a tail of 1/2" - 3/4" long. Take your first stitch on the upper part of the "1" arch. LEAVE THE KNOT ON THE OUTSIDE ON THE BACK of the quilt. This is primitive style and knots on the back are perfectly acceptable. Working on the top of the quilt stick your needle down 1/4", up 1/4", down 1/4" and back up 1/4" and pull it through. Any more stitches on the needle makes it WAY TOO HARD to pull through. Don't get too stressed about the stitches being a bit longer or shorter than the 1/4" since it is supposed to be PRIMITIVE! Start stitching at the top of the small arc ("1") and when you get to the bottom, travel over to the next arc ("2") and stitch up. Travel to "3". Stitch down. Travel to "4". Stitch up. Travel to "5". Stitch down. Time to move your hoop and remark. When you mark the next fan on the 7" fan, put the "5" arc on the last stitching line and use the fan to the left of it on the template to mark your next fan in the same way as previously. If you have an 8" fan template as I do here place the last arc of the right most fan over your last stitching line and mark the 5 arcs. Remember to keep your template straight on your quilt. Since the marked arcs of the 8" template does not completely go over to the previous fan, just swing the template over and complete the arcs. After a time, you will most likely be comfortable to finish these arcs freehand. Also, on the second row and on from there, fill in the lower part of the arcs that don't match up to the top of the previous fans. This is usually arcs "2" and "3". This applies to all sized fans. When you start to quilt the next fan, travel from the bottom of the previous "5" arc to the top of the next "1" arc. Then continue as before. When you run out of thread, just tie another length onto it on the back using a "surgeon's knot"...which is like a square knot only you go around twice each way instead of once. In other words...a square knot is right over left then left over right. A surgeon's knot is right over left, right over left again and then left over right, left over right again. All of the knots are showing on the back...yet another way to make it primitive. All stitches are not made equally. On the left are Lorraine's nice 1/4" stitches. Mine are smaller. I am fine with that. Your stitch length can be whatever you want it to be.


